Sunday, May 13, 2012

Surface to Surface

Surface to Surface

I have been interested in creating a simple framework that had the capability of adapting to more complex surfaces. I want to manipulate this surface into complex forms and geometries by way of parametric scripting. In order to do so, I thought it would be most interesting to take a more complex surface and map it onto the simple surface. The best way to do this was by simply drawing a curve or line in Rhino and allow the magic to happen in Grasshopper. To make this more interesting, I wanted to see if this script could be applied to a number of different curves.

Currently, I am getting closer to putting together a final form for the parametric study. In order to diagram a process, I have taken a series of snap shots of how I attempted to achieve this parametric study.

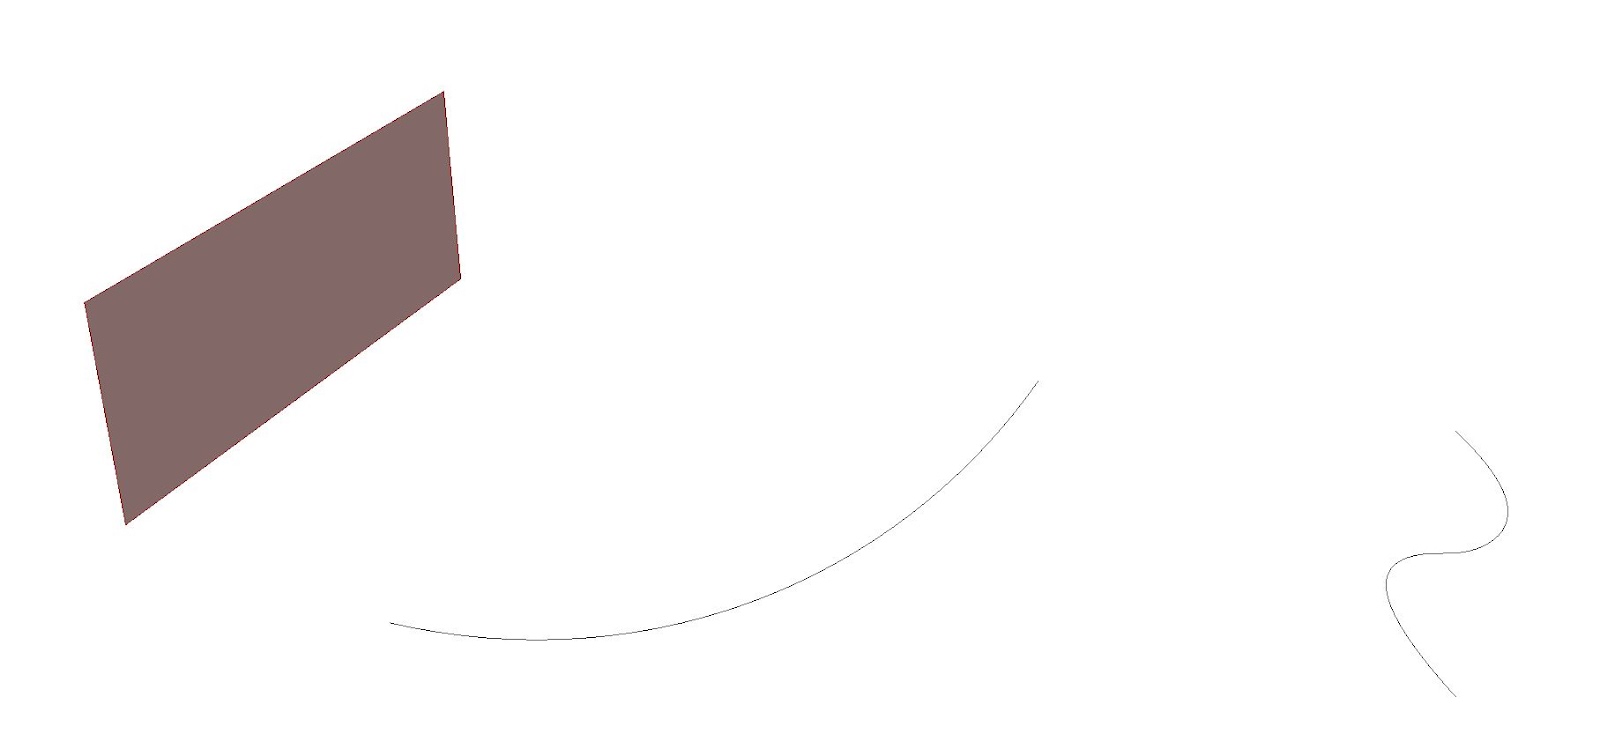
I drew a series of curves stemming from a line to a more serpentine design.

In Grasshopper, I used the move component to move the original curve in Rhino. I utilized a slider on this component as well in order to manipulate this move component. This may be useful to me later.

Grasshopper then allowed me to loft a surface between the original curve and the new moved curve generated.


Using the subdivide component, I subdivided the surface that would create a framework to repeat some kind of other complex surface.


Utilizing the subdivided surfaces, I used the Surface Box component that would essentially create the constraining boxes by which my complex surface would fit within when I map it.


I created this surface that I would then define as the surface to be mapped to the simple surface above. The bounding boxes defined through the phase previous would contain this new complex surface.


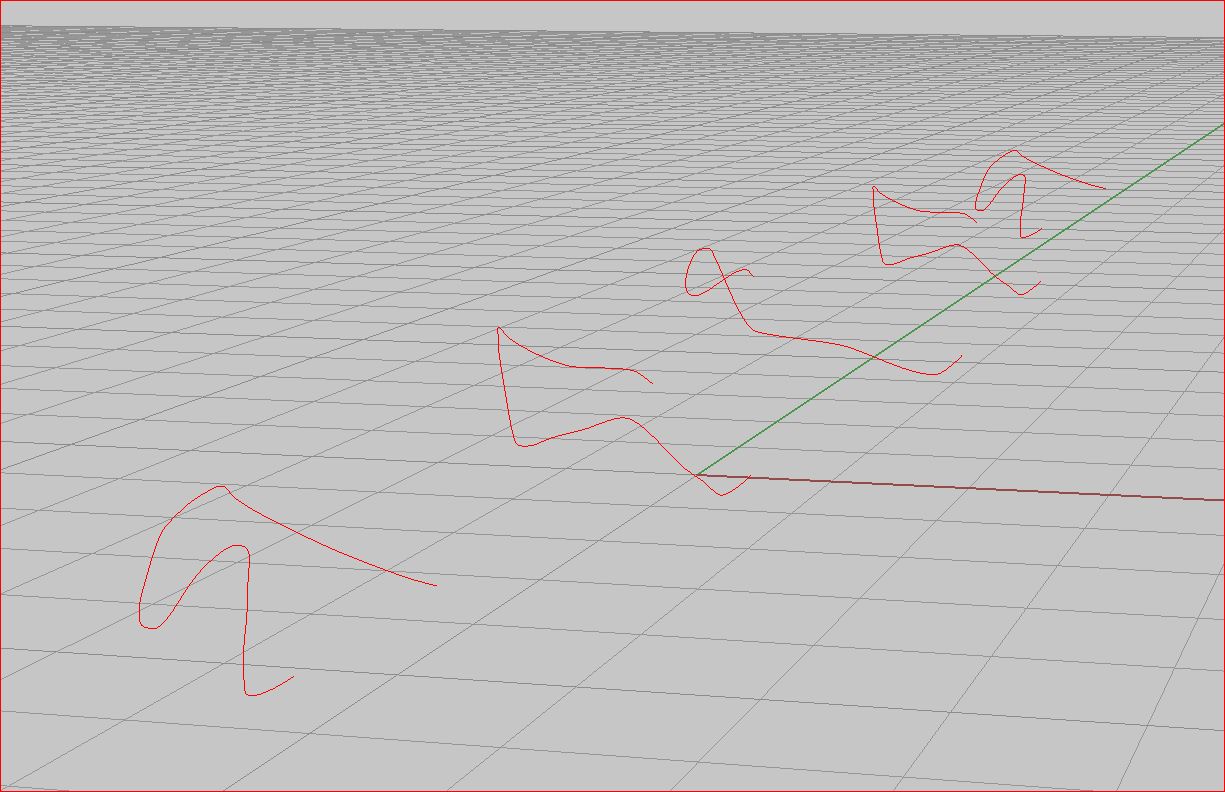
With this surface mapped, I wanted to start to see how this form can be manipulated in more than just a Z direction and how this script looks when applied to other curves. Below are a few of those moments where this script is placed on the other curves.


Tuesday, May 1, 2012

Parametric Modeling

Ok, back to the arch670 grind...

I attempted to venture into the Generative Components version of parametric modeling, to no avail. I have a feeling Grasshopper will be my best bet. The UI is much friendlier and more intuitive. Maybe dumbed-down is the more blunt way of saying that.

Moving on to the actual study of the parametrics, I did the tutorial of the sunshade to try to grasp how to map out the grasshopper commands. I did that fairly successfully, which is the image below.


Here, I was just aiming to grasp things like the slider, list items, and other tools to see what was actually happening. Otherwise, the grasshopper format just appears to be a bunch of car battery wires tangled up.

Using the mapping I got from the tutorial, I tried to apply them to several curves to see what kind of forms I could create. Below is the overall mapping sequence and also a detail of each command.


All of the commands lead into a lofting tool, as you can see with the big wire-esque pieces all leading to one hub. This loft followed whatever parametric parameters I set with the corresponding sliders controlling each point on the curves, as hightlighted in purple. The first iteration is seen below.


From here, I did a series of iterations rotating the curves themselves in Rhino and also changing the values of the points, which only move in an X direction. The next step of this would be to insert a slider to allow the point to change in a Y direction as well as create multiple points to allow for a much more dynamic surface creation. It's pretty amazing that a set of parameters can change a form so drastically and so quickly.


Tuesday, April 10, 2012

Project 2 Final - Motion Diagrammed

The Social Network Rowing Scene - Diagramming Motion

I decided to take a slightly different approach to the final version of the animation/surface study. The motion of the act of rowing is an interesting study compounded by the cinematography the director used to capture this action. With this in mind, I wanted to try to diagram that sequence.

First, I started off by trying to break down the essential parts of the rowing action. I took still images from a video of someone rowing.
 From this sequence, I tried to diagram the essential movements and elements to the action.


In looking at this, I decided that being too literal about the human body being evident, I isolated the body and it's actions alone as seen below.


Using Rhino, I lofted these curves after aligning them to create a surface. My hope was that this surface would be a sort of flow diagram of the action happening while rowing. I wanted to try to animate through using this surface.


I lofted the curves to yield a surface. I arrayed a series of planes to take splined segments from, which produced a sort of still-frame moments of the rowing action.

Now that I was given these moments, I arranged the pieces and surface into ways by which I could begin to animate the essense of the original video. The original video clip, in my few was about capturing the motion and action of rowing. This action happened as a tension between two points, the opposing row teams, on a line. The camera worked in line with this motion, panned around the line, ran on oblique to the line, and through the line. Through my animation, I wanted to diagram that sequence.

Tuesday, April 3, 2012

Physical Model Images

Digital modeling is much more expressive than physical, I've concluded. In these images, I show the model constructed out of two colors of chipboard. The space looks like it could be inhabited and an actual beginning of a built form. 


Monday, April 2, 2012

Animations & Space Creation

In order to create space, I had to break down the animation I was creating to a simple form. I simply analyzed the camera paths that I used in my various camera cuts to then use as curves within a modeling program. I chose Rhino for this process as I ran into issues trying to import a .dwf file into Maya. 


The curves created from the camera paths were fairly diverse. I had one long, swooping curve created from the pan-around camera I used in the opening of my animation. The others were fairly close in proximity and scale but varied in their form. It is interesting to see what form was created from lofting these various curves together to make one solid form. It almost forms what looks to be a large, cantilevered open air market... in a way. The closer, smaller camera path curves serve to anchor the larger sweeping camera path which forms the expansive "roof-like" figure. 


Looking at these images, I can begin to imagine taking 5, 6, maybe more camera paths to create a much more complex form. I chose to take the images from a ground plane perspective such to create the illusion of approaching the model as an object in space. 


Animation & Process Videos

Dissecting the Animation Process - Time/Space 


For this attempt at the animation, I decided I would try to compile separate camera cuts. I highlighted different camera paths and approaches to the rowing sequence, as to dissect the movements used in the film scene. Each camera cut, I put into iMovie to make one complete Quicktime video. 


I took some video of my process, as well. I tried to show how I took each camera path segment to compile them into one video in iMovie here: 


In EIAS Animator, I took screenshots of my camera paths. From those screenshots, I traced over them in illustrator to have curves by which I could loft when I brought them into a modeling program. I get into the process a little bit more in this video: 


Sunday, March 11, 2012

Animation: Take 1 (of many to come)


In an attempt to understand the motion and linear progression of my scene in The Social Network, I tried to create the scene in a rudementary way. I did this without camera clipping or anything like that. I shot the scene using 3ds Max and autokeying the frames. I had to move and adjust the camera and objects alike to account for what I was trying to create. Through this process, I began to understand time and space as they function together. I couldn't, in my first tries, get the scene to extend long enough. As I understood time as a continuously moving entity, I was able to understand keying in more frames to create a slower motion. This is my first stab, I plan to attack this thing again.